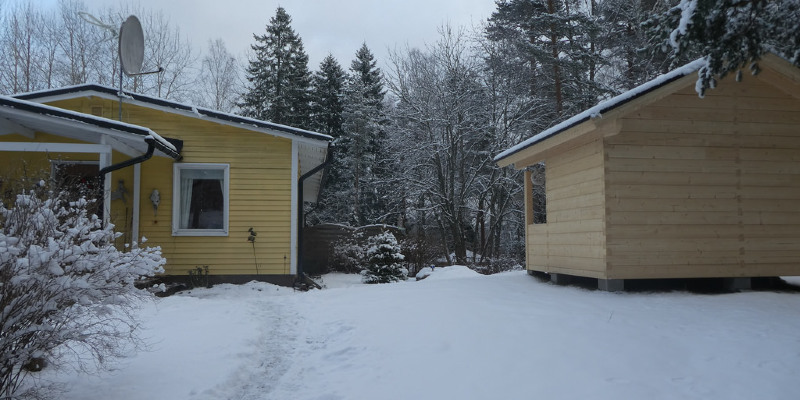
A powerful attic ventilation program includes both soffit vents and roof vents; cool air enters the soffit vents, warms and rises into the loft and leaves through the roof vents. You have more than one option for roof ports — you can install ridge vents, gable vents or ports that sit on top of the roof deck. The latter tend to be round, and they sometimes include a small turbine to facilitate air circulation. Installing one is not much more complicated than cutting a hole in the roof, securing the flashing and sealing it thoroughly with roofing cement.
Determine the roof pitch, even if you don’t know it. If you’re installing a turbine port, then the packing should include a gauge that will help you. Place the edge of the box flush with the roof deck at the summit, and put a 4-foot flat on the other side of the roof. Notice the intersection point of the degree on the gauge.
Assemble the port by slipping the elbow onto the underside and rotating the elbow till the arrow lines up with the proper pitch, as marked on the base. Drive two galvanized sheet metal screws into the elbow, with a drill and No. 2 Phillips bit, to hold the elbow in place.
Mark the position of the port on the roof; draw a circle the exact same size as the port opening with a bit of chalk. The hole ought to be centered between roof rafters. Cut the hole using a reciprocating saw.
Put the port on the roof and then slide the part of the flashing nearest the summit beneath the shingles over the hole. Lift the shingles up, and drive 1-inch roofing nails through the flashing to secure it to your roof deck, with a hammer. Then enable the shingles to settle on top of the flashing. Drive more nails throughout the lower part of the flashing, which ought to be sitting on top of the shingles below the hole.
Place a flat on the upper part of the port elbow, and also rotate the elbow till the level bubble is centered. Secure the elbow in that position by screwing the locking clips provided with the port to both areas of the elbow, using galvanized sheet metal screws.
Seal the adjustment seal with roofing cement. Expand the cement on the seam both indoors and outside the port, and then use the cement to seal the roof flashing as well as the heads of all the nails holding the flashing.
Place the vent cover or wax on top of the elbow, and then secure it using sheet metal screws.