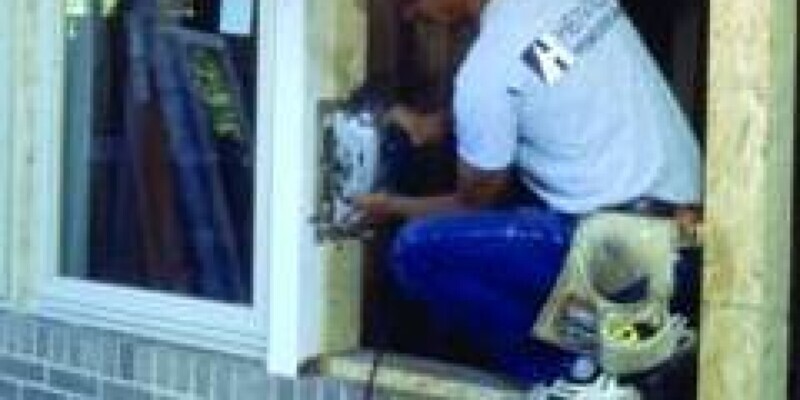
The ice maker on your Roper fridge will generally last about five decades. Some parts of the ice maker can be replaced, but on old units or units which are out of warranty, it may be more cost effective to replace the comprehensive ice maker. Roper refrigerators utilize the Whirlpool modular kind of ice maker since the Roper brand is a subsidiary of the Whirlpool Corporation. Troubleshooting of the ice maker should begin with a visual overview of the ice creating and water supply systems.
Freezer Temperature too High
Freezer temperature should be between 0 and 5 degrees Fahrenheit for the ice maker to properly produce ice cubes. If the freezer temperature is too high, then the condenser coils may be dirty and need cleaning. Condenser coils are black, grill-like fittings which can be found on the rear of old models or underneath the fridge — accessed from the front by removing the underside kick-plate — on most newer models. The issue can also be brought on by excess frost built upon the evaporator coil. The evaporator coil is located in the freezer behind a panel in the rear, and frost will generally be visible on or across the panel. If it’s a lot of frost constructed, air won’t be able to circulate properly to make sufficiently cold temperatures in the freezer. This may indicate a defrost component malfunction that will need to be serviced by a skilled technician.
Freezer Temperature too Low
If the temperature in the freezer is too low, hollow ice may result because it is picked before the water is totally frozen. A deep freezer temperature of minus 3 degrees Fahrenheit and under is considered too low for good ice production. The low temperature in the freezer can be brought on by a faulty or incorrectly adjusted air damper or control knob. The air damper is concealed between the refrigerator and freezer sections and is operated by the control knob. The knob has numbers on it to indicate the settings and can be typically found inside the fridge section. Adjust the control to a higher setting and also check for proper temperature after 24 hours. If temperature is still too low, the air damper may be faulty, which will call for professional support.
Water Supply Components
Check the flooring around the fridge for standing water. Determine the source of any leak and fix or replace parts as needed. Check the saddle valve on the house supply pipe that offers water into the ice maker. A self-tapping saddle valve ought to be replaced using a drill-type saddle valve. The larger hole necessary for the drill-type saddle valve is not as likely to become confined with debris or sediment. Check the electro-mechanical water inlet valve linked to the pulley valve in the rear of the fridge for good operation. Adequate water pressure is necessary for the water inlet valve to function properly. Examine the tube moving in the water inlet valve into the water fill tubing in the rear of the ice maker for constraints. If the tube is not restricted and the fill tube is frozen, then the water inlet valve may be leaking and require replacement.
Modular Ice Maker Components
The bonding arm is a metal rod connected to the ice maker that moves through the ice-harvesting process. Check the bail arm position on the ice maker and also remove any constraints. A broken or bent bonding arm is readily replaced. Some ice maker models have test points on the front of the module underneath the cover plate. Evaluation points enable service technicians to test the ice maker’s components without taking away the ice maker. However, testing will necessitate using a volt or ohm meter and jumper cable, so it is a good idea to get this done by qualified service professionals. A faulty door switch can get the ice maker to not function. Usually, the door switch turns the light on in the freezer and also turns that the ice maker off once the door is opened. Alter the door switch if it is not operating properly.