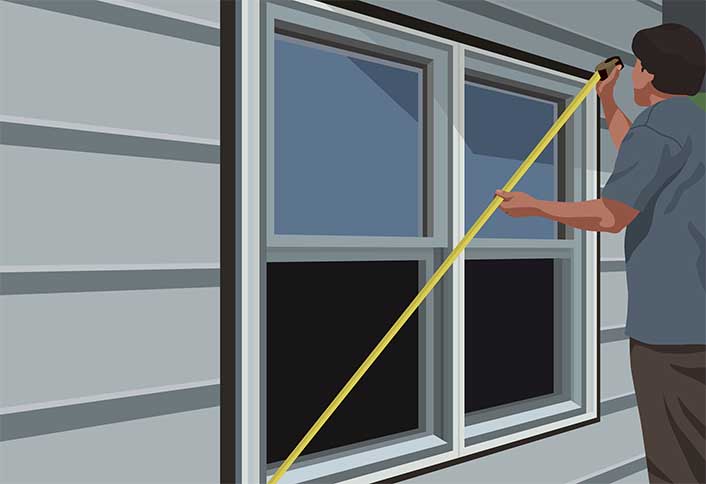
When you are setting up the interior trim, one of the things that you need to consider is how you are going to go about it. Think about what you will start with and the steps you will take until you complete the entire installation. You only need a few basic window installation tools and a bit of time, and you will be able to trim a room over a weekend. With a bit of practice, you can become good at metering and coping techniques.
If you are installing continuous trim around the inside perimeter of the house, like crown moldings, baseboards, and chair and picture rails, you have to follow a particular order when doing it. The first step to take is to draw an outline of the room. This will help you plan how you are going to carry out the installation.
If the room you are working on is rectangular, then start the installation from the wall that’s across the entry. This is the first wall that someone sees when they enter the room. Cut up the ends of the moldings in square form. Subsequently, cut up the molds that you will use on the walls adjacent to it. At the part where they will connect with the trim of the first wall, cope the corners. Square cut the other ends of these trims where they will meet the wall. Ensure that the final piece has both of its ends coped.
If the wall is lengthy and you will need to join more than one piece, set up a scarf joint. In window repair, this is also known as a scarf joint. This joint is often used to join two pieces of wood end to end. Set the trim up in such a way that it faces away from where it’s most likely to be seen.
If the room has an irregular shape and has external and internal corners, use a mitered joint for external corners. A mitered joint is where two trims meet at a 45-degree angle, in order to form a 90-degree joint. On the other hand, use a coped joint for internal corners like those that are created by a bay or alcove.
When setting up mitered window and door casings, good window cleaning rules require that the pieces are held in place in the meantime, while you align everything well. This might take a couple of tries. Start with the side casing and secure it in place in such a way that will allow the miter cut to be connected with the head of the miter casing cut.
Then place the head casing in position and shape it, so that it fits well with mitered side casing. Cut the other side casing to be a little longer than it actually should be. Then start trimming it until it fits well. Once you have made sure that everything fits in well together, take down all the pieces and glue them together.