Although window installations seem complicated and intensive, they’re not all that difficult when you know how to work with pre-hung window installation, which are sold as combined frame and window glass that makes installation less technical and far easier than having to install the window glass inside the frame first. And if you’re thinking of installing your own window for the first time, then you’ll enjoy our step-by-step guide on how to do just that.
Preparing the Opening
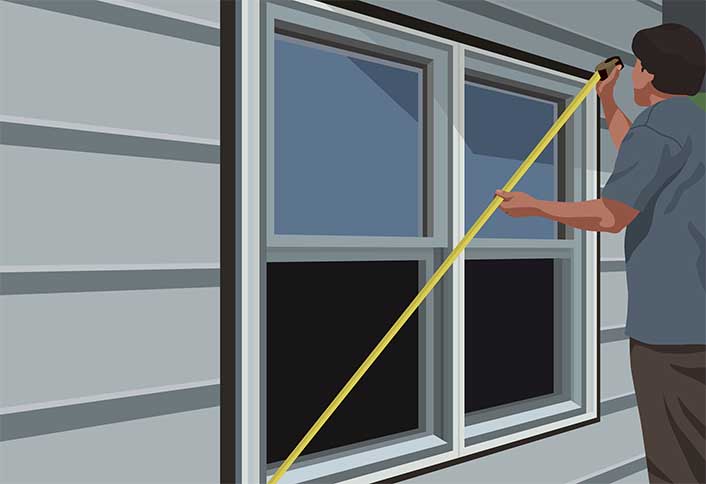
– Start by marking the would-be window corners by driving the nails into the wall while you’re still inside the house, and then draw the window outline from outside.
– Follow the outline you’ve made with a power saw, and cut through the sheathing and siding until you create the opening. If necessary, trim the opening until you get the desired shape in the right size.
– Check if the window repair fits the opening by placing it onto the opening. Ideally, the opening should be a little bigger than the window and you can adjust it with a little trimming until it is just right.
– Use strips of moisture seal that are 8 inches wide to line the opening while making sure that they’re firmly tucked into the sliding. Slice the moisture seal right on the corners at a diagonal angle using a utility knife so that you can fold the protruding pieces into the interior of the opening, and then staple the strips after trimming them.
– After placing two small spacers at the foot of the opening, make sure you leave ½ an inch of space on the sides and add shims if necessary, using two 2 inch 6d nails for each duo of shims. To prevent the shims from splitting, drill a few pilot holes and then cut the shims once they’ve been installed so that they’re standing at an even level with the siding.
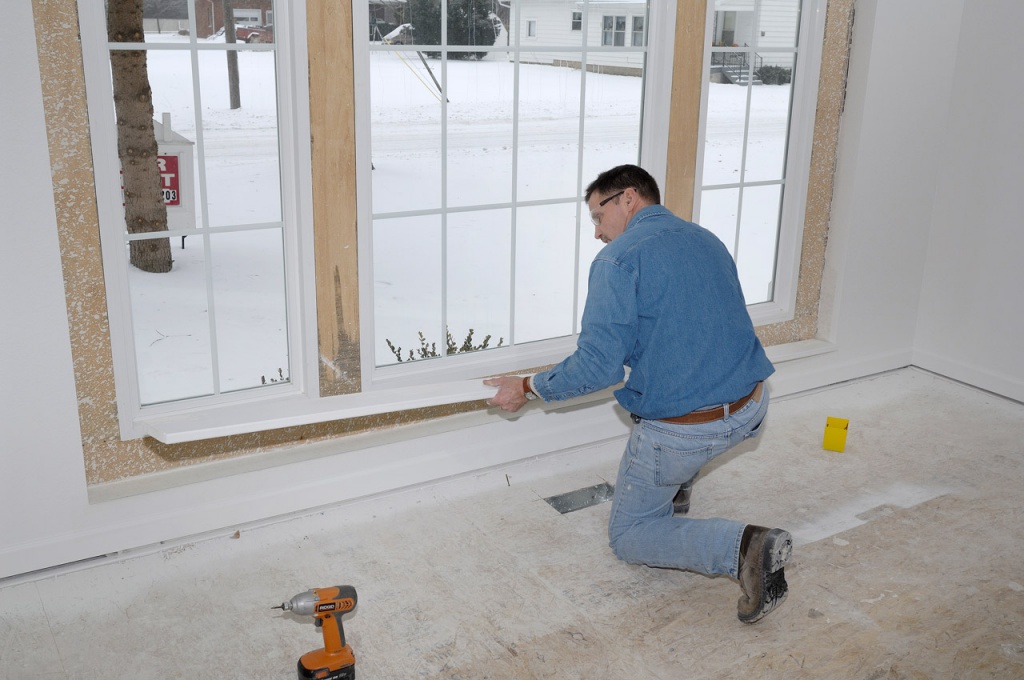
Mounting a Window
– This is where the spacers come in handy because you’ll use them to place the window onto the opening, and then you’ll drive a nail halfway into the trim, starting with one of the upper corners. Throughout this process make sure that the window is at a level position, and make the needed adjustments with the shims to keep it straight before driving the rest of the nail in.
– Install shims at the top and bottom corners of the window and make necessary adjustments until the window is standing upright and is secure.
– Open and close the window to make sure that it’s working, and then finish it off by applying a sealant as well as flashing on the inside and the outside.
Finishing a Window
– While still on the outside, attach the trim and then fill the space with caulk. Make sure to follow the manufacturer’s instructions throughout.
– Check to see if the window cleaning is standing straight from the inside and use shims on the sides to adjust it until it’s nice and snug.
– Lastly, drive a 2 ½ inch 8d nail into the jamb, which will then connect the shims with the trimmer studs. You can even apply insulation between the trimmer studs and jambs to make your window weatherproof.